If you’re a FOREX or Crypto trader looking for ways to level up your algo trading bot strategies, consider the Relative Strength Indicator (RSI) indicator. The RSI indicator can help identify overbought and oversold conditions, helping you create more effective strategies for buying and selling assets.
In this article, I’ll give you an overview of what the RSI indicator is, how it works, and then give you the code to add it to your autotrading bot.
What is the RSI Indicator?
The Relative Strength Index indicator measures momentum in price movements. Developed by J Welles Wilder Jr and introduced in his seminal book, New Concepts in Technical Trading Systems (1978), the indicator helps traders spot potential trends. Many traders use the RSI to identify overbought and oversold assets, to indicate assets primed for trend reversal, and when to buy and sell various assets.
How does the RSI work?
The RSI is a momentum indicator that displays an oscillator on a scale of zero to 100. This number is calculated by comparing an asset’s strength when prices go up to an asset’s strength when prices go down, typically over a 14-period timeframe.
Many traders believe that an RSI value above 70 indicates an asset is overbought, while an RSI below 30 indicates an asset is oversold.
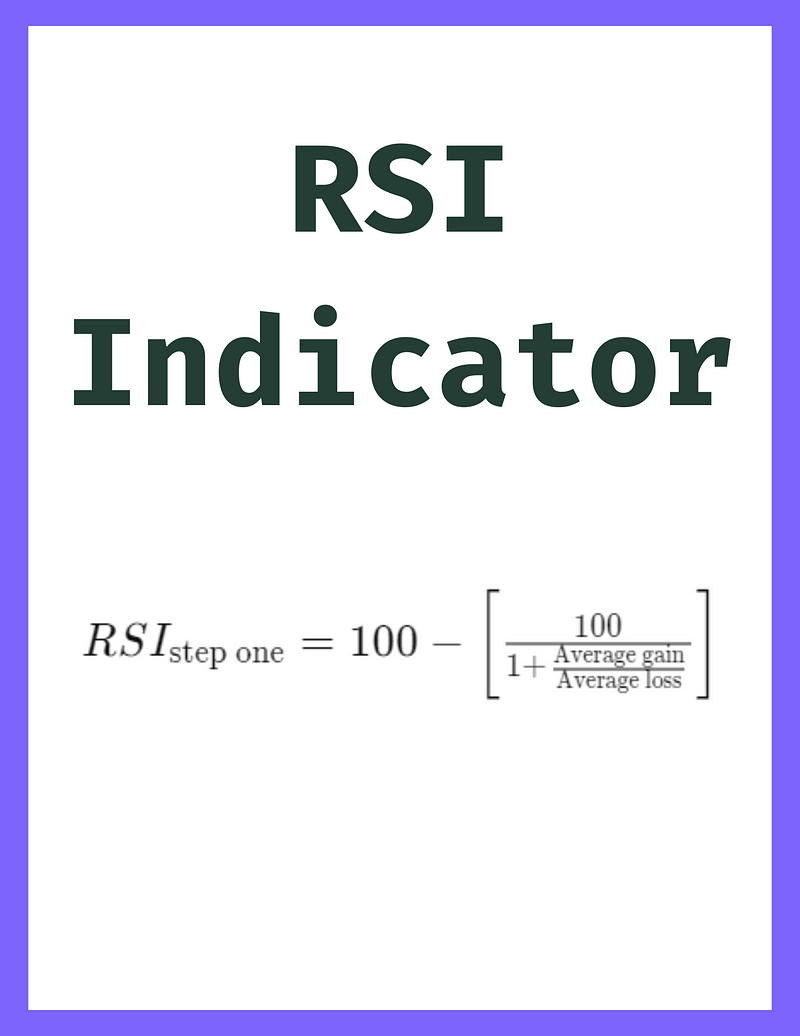
Expressed as a formula, the RSI is calculated as follows:
RSI Indicator formula. Credit to Investodpedia and J. Welles Wilder Jr.
How can I use the RSI in my Algo Trading Bot?
Knowing how the RSI works provides some powerful options for your algo trading bot.
Here are a few different ways you could consider using it:
Providing a BUY or SELL signal to your algo trading bot based upon the RSI value
Dynamically changing algorithms based upon RSI values
Combining the RSI with other indicators such as the Doji Star or EMA
P.S. If you’re looking for ways to do this and more, why not sign up to my blog?
Sign up for The Disruption Continuum
What would it take for Crypto, AI, and Cyber to truly change the world?
No spam. Unsubscribe anytime.
How do I add the RSI to my Algo Trading Bot?
To add the RSI to your algorithmic trading bot or crypto trading bot, do the following:
Step 1: Install TA-Lib
TA-Lib is the premier indicator analysis library for any kind of technical analysis. It’s blazingly fast, powerful, and used by many of the worlds top traders and platforms.
Installing it is pretty simple (if a little time-consuming). I’ve included the five basic steps below:
Get and install Windows Build Tools (this takes the most time!)
Compile TA-Lib
Install pip install TA-Lib
If you’re looking for a more in-depth tutorial, including common error messages, here’s a link to a post on the subject.
Step 2: Add the Code to Your Indicator Library
Filename: rsi.py
import talib

def rsi(dataframe, period=14):
    """
    Function to calculate the RSI indicator. More details can be found here:
    :param dataframe: dataframe object where the RSI should be calculated on
    :param period: period for the RSI calculation
    :param display: boolean to determine whether the RSI should be displayed on the graph
    :param fig: plotly figure object to add the RSI to
    :return: dataframe with RSI column added
    """
    # Copy the dataframe
    dataframe = dataframe.copy()
    # Add RSI column to dataframe
    dataframe['rsi'] = 0
    # Calculate RSI on dataframe
    dataframe['rsi'] = talib.RSI(dataframe['close'], timeperiod=period)
    return dataframe
Step 3: Use the Function
Here’s how the function works:
Pass the function a dataframe with a column containing the close values of each candle. The dataframe can be an arbitrary size — I’ve tested it up to 50,000 candlesticks with no discernable lag.
The function will return a dataframe with a rsi column. This column will contain the RSI value for that dataframe
Add decision logic to your algorithmic trading bot
Use the AlgoQuant AutoTrading Bot
You can also use the open source AlgoQuant AutoTrading Bot. Install it from GitHub, then run one of the following commands:
To get a dataframe of a symbol from MetaTrader: python .\main.py --Exchange 'metatrader' --rsi -timeframe "M30" --symbol "USDJPY.a"
To add in a Plotly Graph (fantastic for exploring the data):
I love hearing from my readers, so feel free to reach out. It means a ton to me when you clap for my articles or drop a friendly comment — it helps me know that my content is helping.