Setting Up Our Website — Multiple Markers on Google Maps with Wix Velo
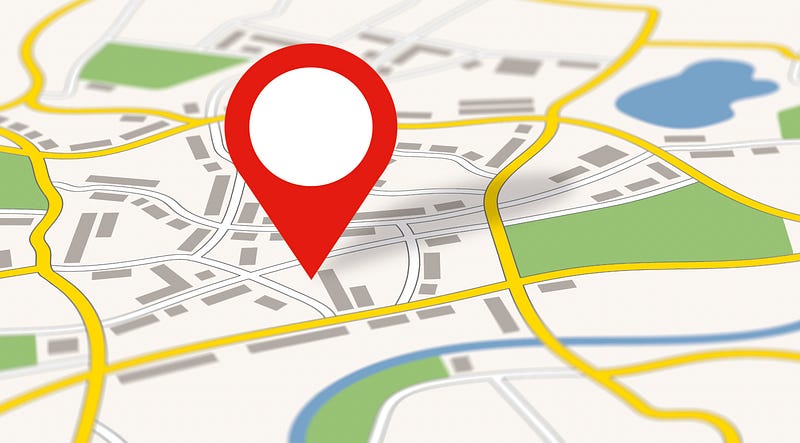
Integration with map data has never been more important for businesses and users. As our systems become ever more connected, the contextualisation of information in terms of location provides incredible value to businesses.
One method to integrate this is displaying locations on a map. This might be static locations like the site(s) your business runs from, or maybe the location of your pop-up store. For these types of applications, Wix has a wonderful element which can be dragged and dropped right into your website. Here’s the link to their excellent tutorial.
A far more complex implementation is the addition of dynamic and changing locations to the map. This could be incredibly useful for dynamically updating the location of your delivery drivers, or in my case, displaying an audit trail for a security seal. It involves a series of coding efforts, the addition of an HTML element, and connecting to a database collection.
The Wix provided tutorial is pretty good, however, I felt that an in-depth, step-by-step tutorial would add a lot of value. So here it is.
Enjoy ❤️
Our Goal For the Series
Our goal in this series is to build a website which fully integrates the display of multiple, dynamic map data points into a Google Maps display. We want to be able to update a location and have it almost immediately display on our website. If you’d like to read more about why this is important, here’s my introduction.
Working Example: The example we’ll be using is shown here.
Github / Code Repo: For those who find it useful, the public github repo is here.
Along the way, I’ll share couple of tips on some security considerations, along with helpful observations which will hopefully save you many hours of troubleshooting. The full list of episodes can be found at the bottom of each episode.
As always, I hope this content is helpful. It means the absolute world to me when you take time to clap for an episode, subscribe to my stories or use my referral link to sign up for Medium. It lets me know that my stories are helping you ❤️.
In this episode, we’ll be covering the initial setup of the project. If you’ve got experience with the Wix Editor, hopefully this is pretty straight-forward. There’s no code required in this section, and if you have it already set up, you can simply skip it.
We’ll be covering the following:
Designing the page
Setting up our form to gather locations
Setting up our database collection with the right permissions
Let’s do it!
Designing the Page
As you can see in the demo, our page design is a simple Title, Map and Wix Form. All these elements can be added from the Wix Editor.
To start with, set up the following using the Wix Editor:
A text box at the top using whatever title font you’d prefer. For the text box, put in a title which is meaningful for you.
An empty HTML Frame. We’ll be filling this out in a future episode. Label the HTML Element with a meaningful name and write it down. I called mine googleMapsFrame , and we’ll be using it in Episode 4
A Wix Form. The fields we want for this are (at least): latitude and longitude, both of which are decimal numbers as we are using Decimal Degrees for our input, and a Title for the location. We’ve also added a ReCAPTCHA (more on that in a moment), a tick box for our privacy policy and a submit button which we’ve called ‘Add Location’. Write down the name of your form — mine was creatively named wixForm1 — as we’ll use it in Episode 5
A Note On Security
A few notes on security as we get started.
Be Careful With HTML Elements. HTML Elements (also known as inline frames or iframes) are a HTML element which loads another HTML page within a document. Effectively you’re adding a new webpage to your existing page, and they’re used extensively for things like web-trackers. The kicker here is that HTML Elements can also be used to load up malicious code within webpages, taking your previously benign webpage and making it nefarious. Have a read of this article and this article to get a quick overview about it. Practically speaking, this means we need to take a few risk mitigation measures for our setup, which I’ll expand on as we go through the series. If you need to discuss this further for your own setup, shoot me a DM and we can chat.
Restricting text box inputs. It is always best practice to be explicit about what you allow to go into your text boxes. This limits the ability for malicious or nefarious code to be used against you. It also increases the efficiency of our website and code. For those programmers out there, it allows the object being submitted to the database to be formatted into the type we need right from the start. For our simple site here, make sure you apply the following limits: Set the latitude and longitude to be Number boxes, allowing decimal numbers. For the location title, let this to be a text box and restrict the number of characters to 20.
Adding a ReCAPTCHA. Wix Forms have a built in ability to add a ReCAPTCHA. This will limit the ability for someone to spam the form with pointless entries, as it filters out non-human entities. It’s a low cost, high benefit option, so we’ve added it to the form.
Privacy Policy. In general terms, I always add a privacy policy any time I use an internet facing form. It is just good practice to be clear about what you’re doing with any data you might collect.
Setup The Database Collection
With our page designed, it’s time to setup the database collection. For our particular example, we want the data to be accessible to any person who browses to this page.
Your specific implementation might be different, and it is always best practice to review this before implementation. It will save you time wasted when your code stops working due to an access error, and a lot of heartache if private data is exposed through incorrect permissions setups.
In Wix, this is as simple as going to the collection and changing the access, so do this now.
While you’re there, make note of the following. These names and ID’s are case sensitive:
Collection Name
Collection ID
Field Titles for Latitude, Longitude and Location Title
Field ID’s for Latitude, Longitude and Location Title
For mine, I didn’t do a lot of configuration, so I got some pretty generic ones. Here are mine:
Collection Name: Submit an Interesting Location
Collection ID: paymentForm07
Field Titles: Latitude, Longitude and Location Title
Field IDs: numberField, numberField2, shortAnswerField
Once done, hit ‘Publish’ on the Wix Editor.
Add Some Locations
Now it’s time for us to add some locations. How exciting!
Go through and add in at least 10 locations. Take note while you’re doing so that the form works as expected.
If you’re looking for some inspiration, here’s a list of the 10 I started with. They’re all around the beautiful city of Sydney, Australia, a place where I used to live.
Check Your Database Collection
The final step is to check your database collection. Make sure that the entries from your form have gone into the collection and that you have at least 10 entries there.
Wrapping Up Episode 1
That’s basically it for Episode 1. We’ve achieved the following:
Designed the page
Set up our form to gather locations
Set up our database collection with the right permissions
With our website look and feel completed, we’re ready to start getting our locations ready to display. I can’t wait!!!
List of Episodes:
The full list of episodes in this series are linked below to help you navigate quickly ❤